- Afrikaans
- Arabic
- Belarusian
- Bengali
- Czech
- Danish
- Dutch
- English
- Esperanto
- Estonian
- Finnish
- French
- German
- Greek
- Hindi
- Hungarian
- Icelandic
- Indonesian
- irish
- Italian
- Japanese
- kazakh
- Rwandese
- Korean
- Kyrgyz
- Lao
- Latin
- Latvian
- Malay
- Mongolian
- Myanmar
- Norwegian
- Persian
- Polish
- Portuguese
- Romanian
- Russian
- Serbian
- Spanish
- Swedish
- Tagalog
- Tajik
- Thai
- Turkish
- Turkmen
- Ukrainian
- Urdu
- Uighur
- Uzbek
- Vietnamese
outdoor putting green installation
Dec . 17, 2024 03:06 Back to list
The Ultimate Guide to Outdoor Putting Green Installation
Creating your very own outdoor putting green can be an exciting project for golf enthusiasts and a fantastic addition to your backyard. Whether you want to improve your putting skills or simply enjoy a beautiful green space, the installation of an outdoor putting green can provide endless hours of fun and practice. In this guide, we’ll walk you through the steps to successfully install your outdoor putting green.
Step 1 Planning and Design
Before you start digging, it's essential to plan your putting green's design. Consider the following factors
1. Location Find a suitable spot in your yard that receives ample sunlight and is relatively flat. Avoid areas with heavy tree cover to minimize leaf litter and shade.
2. Size Determine how large you want your putting green to be. A standard size ranges from 400 to 1,000 square feet, but you can scale it according to your available space.
3. Shape Decide on the shape of your green. Traditional putting greens are round or oval, but you can also be creative with custom designs to fit your yard's layout.
4. Features Consider adding features such as bunkers, mounds, or even a fringe area to enhance the aesthetic appeal and challenge of the green.
Step 2 Gathering Materials
Once you have a design in mind, gather the necessary materials. Essential items include
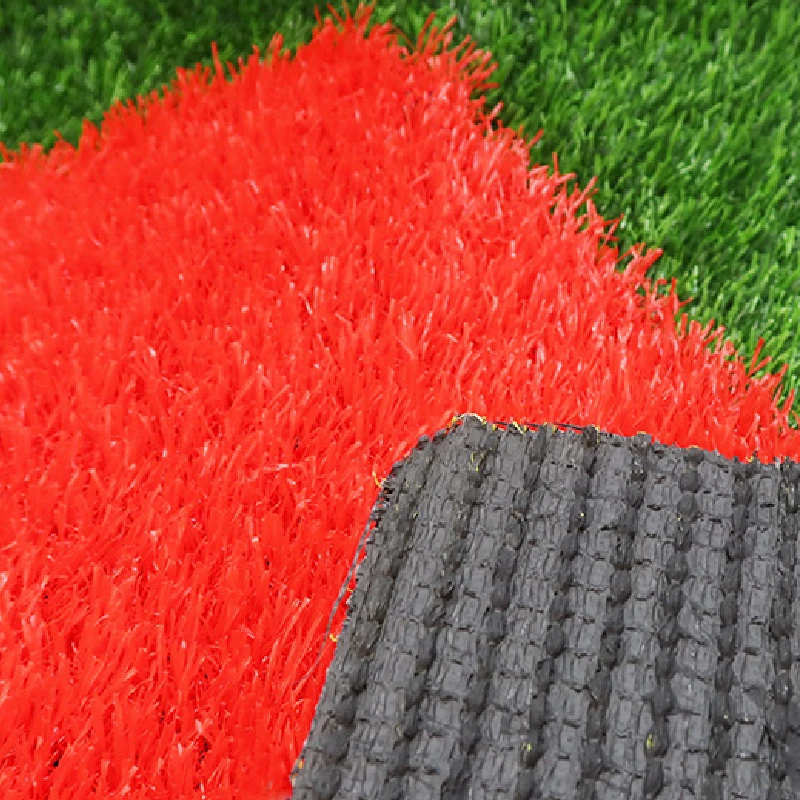
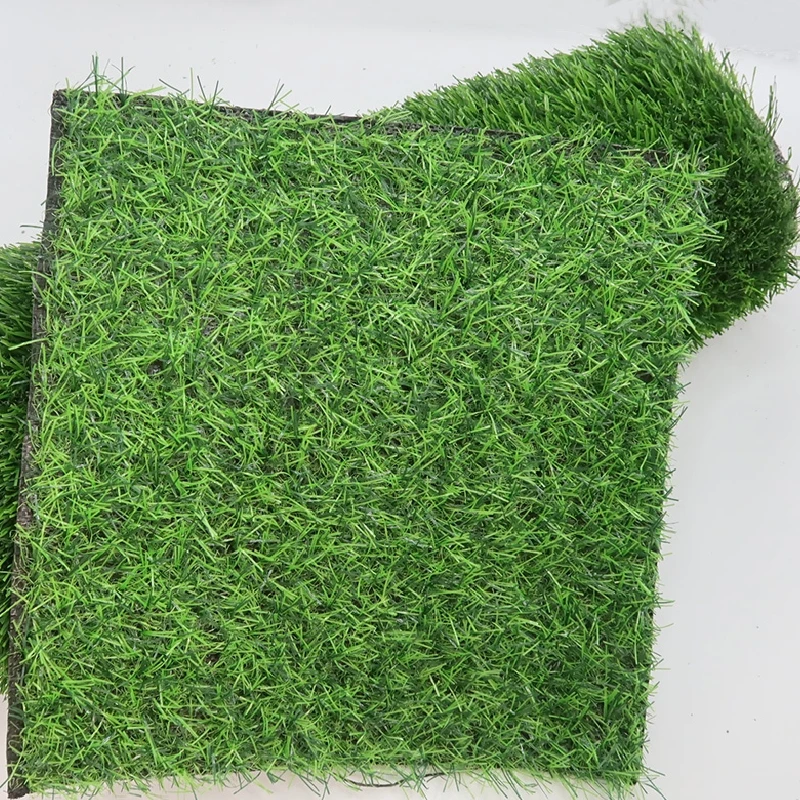
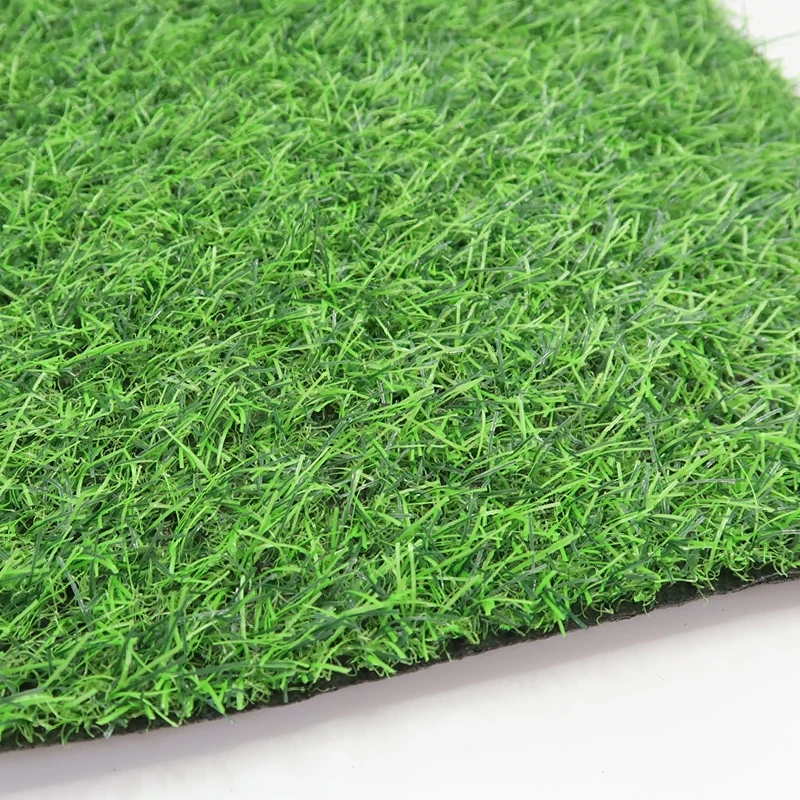
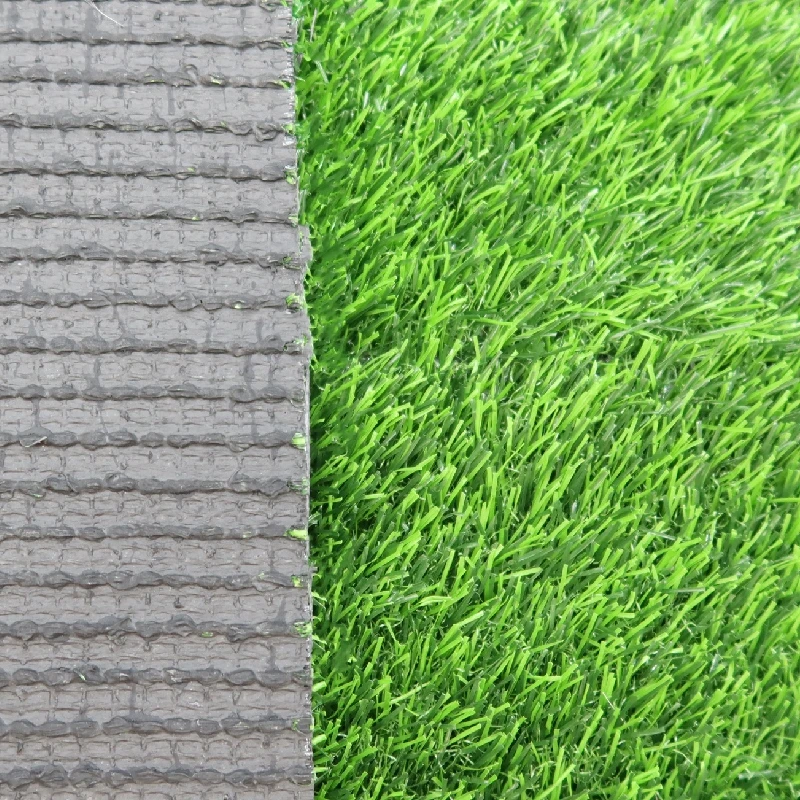
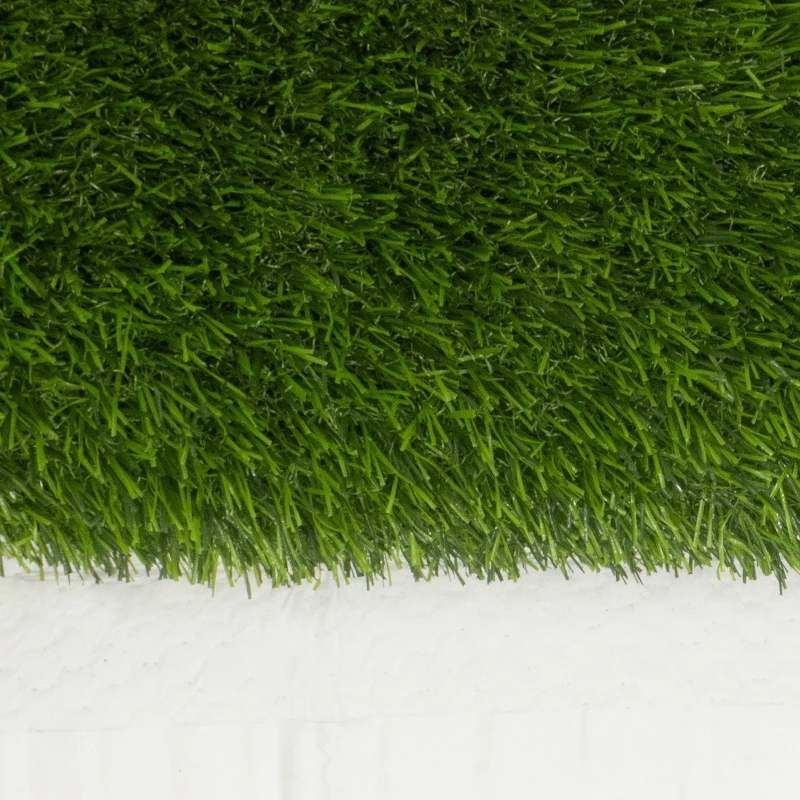
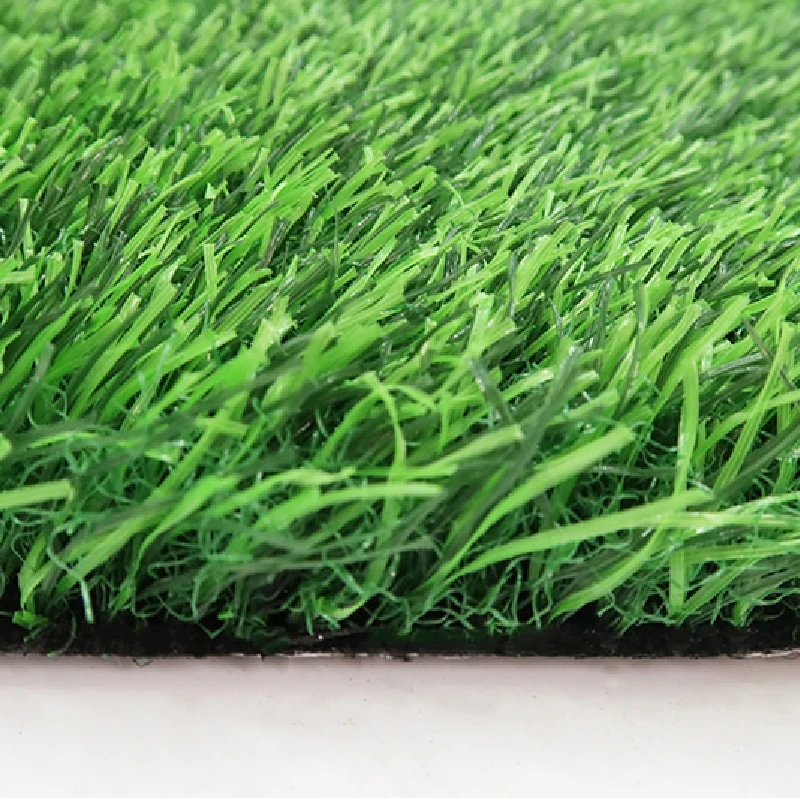
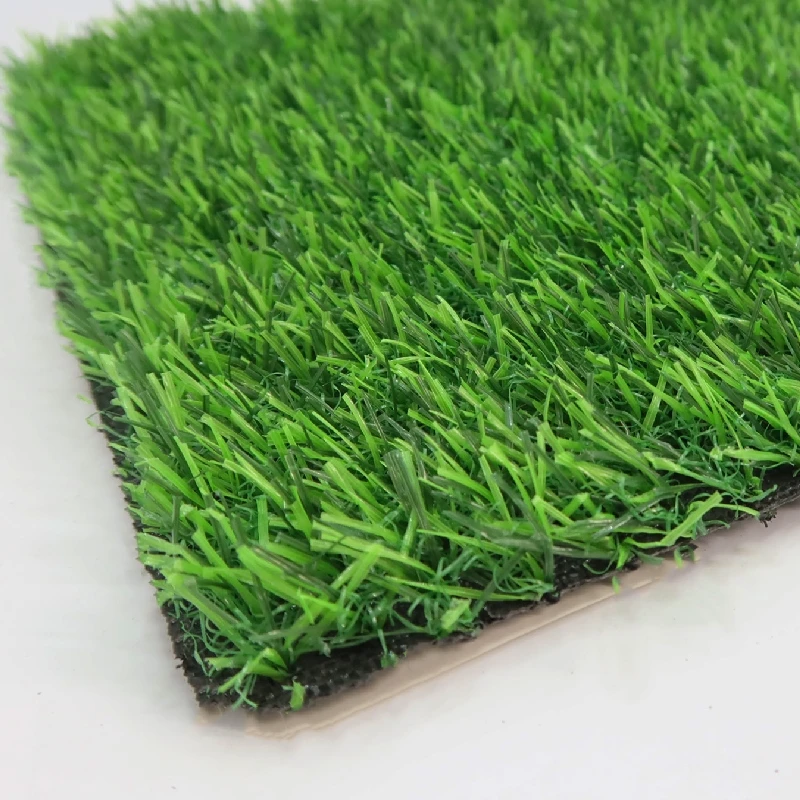
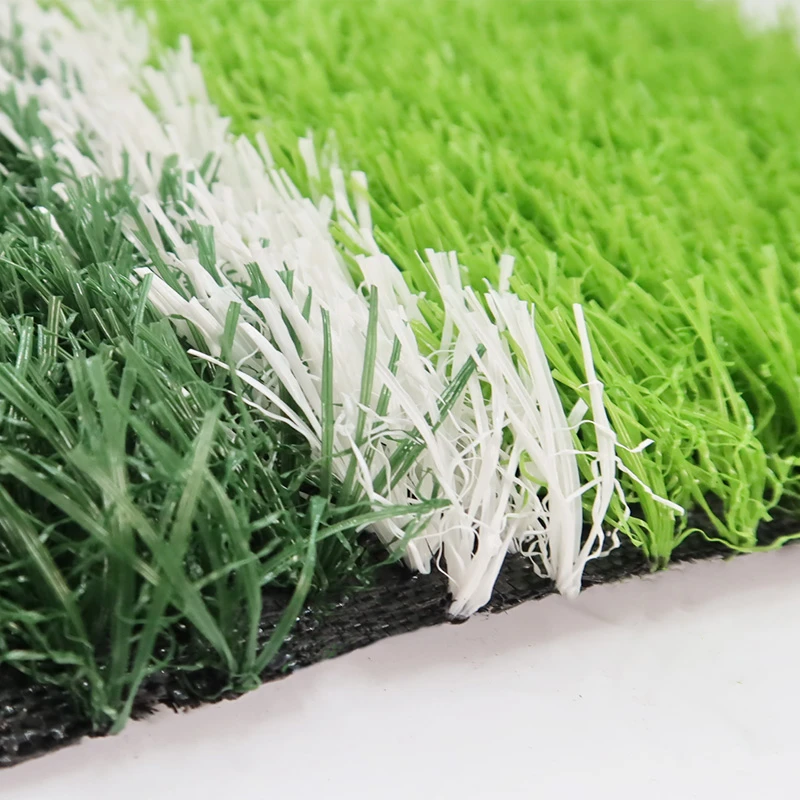
- Synthetic Turf Choose high-quality, UV-resistant synthetic turf specifically designed for putting greens. This type of turf simulates the look and feel of real grass while offering durability and low maintenance.
- Base Material Crushed stone or gravel is often used to create a solid base. These materials provide adequate drainage and a stable foundation.
- Edging Use plastic or metal edging to define the perimeter of your green, ensuring that your turf remains in place.
- Other Tools Depending on your design, you may need shovels, rakes, a landscaping knife, and a compactor to prepare the area.
Step 3 Preparing the Site
Preparation is key to a successful installation. Follow these steps to ready your site
1. Clear the Area Remove any grass, weeds, or debris from the chosen location. Use a shovel or sod cutter for thorough removal.
2. Level the Ground Ensure that the area is as level as possible. Fill in low spots with soil and compact it down to create an even surface.
outdoor putting green installation

3. Excavate Depending on your desired green's thickness, you may need to excavate a few inches of soil to accommodate the base material.
Step 4 Installing the Base
Once the area is prepped, it’s time to lay down the base material
1. Add Crushed Stone Spread a layer of crushed stone evenly over the excavated area. Typically, a thickness of 2-4 inches is sufficient.
2. Compact the Base Use a plate compactor to compact the stone base tightly; this will prevent settling and maintain a stable putting surface.
3. Drainage Ensure proper drainage by sloping the base slightly from the center towards the edges to allow water to run off and prevent pooling.
Step 5 Laying the Synthetic Turf
Now, it’s time to lay your synthetic turf
1. Roll Out the Turf Carefully roll out the synthetic turf over the prepared base, ensuring it lays flat and smooth.
2. Cut to Fit Use a landscaping knife to trim the edges of the turf around your desired shape while ensuring the seams are tight and align properly.
3. Secure the Turf Use landscape adhesive or nails to secure the edges of the turf, making sure it stays in place.
4. Infilling Some turf systems require infill (like sand or rubber granules) to enhance stability and mimic the feel of natural grass. Follow the manufacturer’s instructions for the specific infill needed.
Step 6 Final Touches
Finally, take some time to enhance your putting green
- Add Accessories Consider adding cups and flags to create realistic putting conditions.
- Finishing Touches You may want to landscape around the putting green with plants and decorative stones to integrate it seamlessly into your yard.
Conclusion
With a little planning, preparation, and dedication, installing an outdoor putting green can be a rewarding DIY project. By following the above steps, you will create an enjoyable space for practice and leisure, making your backyard a personal golfing paradise. Whether for family fun or serious practice, your new putting green will provide enjoyment for years to come!
-
The Benefits of Artificial Turf for Indoors
NewsJul.15,2025
-
How Artificial Grass Suppliers Ensure Quality Products
NewsJul.15,2025
-
Artificial Grass and Pets: A Space for Relaxation
NewsJul.08,2025
-
Balcony & Outdoor Decoration with Artificial Grass
NewsJul.08,2025
-
Best Indoor Artificial Grass for Home
NewsJul.07,2025
-
Best Pet Turf for Dogs: Safe & Durable Artificial Grass Options
NewsJul.07,2025
Products categories


