- Afrikaans
- Arabic
- Belarusian
- Bengali
- Czech
- Danish
- Dutch
- English
- Esperanto
- Estonian
- Finnish
- French
- German
- Greek
- Hindi
- Hungarian
- Icelandic
- Indonesian
- irish
- Italian
- Japanese
- kazakh
- Rwandese
- Korean
- Kyrgyz
- Lao
- Latin
- Latvian
- Malay
- Mongolian
- Myanmar
- Norwegian
- Persian
- Polish
- Portuguese
- Romanian
- Russian
- Serbian
- Spanish
- Swedish
- Tagalog
- Tajik
- Thai
- Turkish
- Turkmen
- Ukrainian
- Urdu
- Uighur
- Uzbek
- Vietnamese
how to install artificial grass indoors
Dec . 21, 2024 23:03 Back to list
How to Install Artificial Grass Indoors A Step-by-Step Guide
Installing artificial grass indoors can add a unique and appealing touch to your home. Whether you’re looking to brighten up a playroom, create a comfortable area for your pets, or enhance your home gym, artificial grass provides a versatile solution. Here’s a comprehensive guide to help you through the installation process.
Step 1 Choose the Right Artificial Grass
Before you begin, selecting the appropriate type of artificial grass is crucial. Factors to consider include
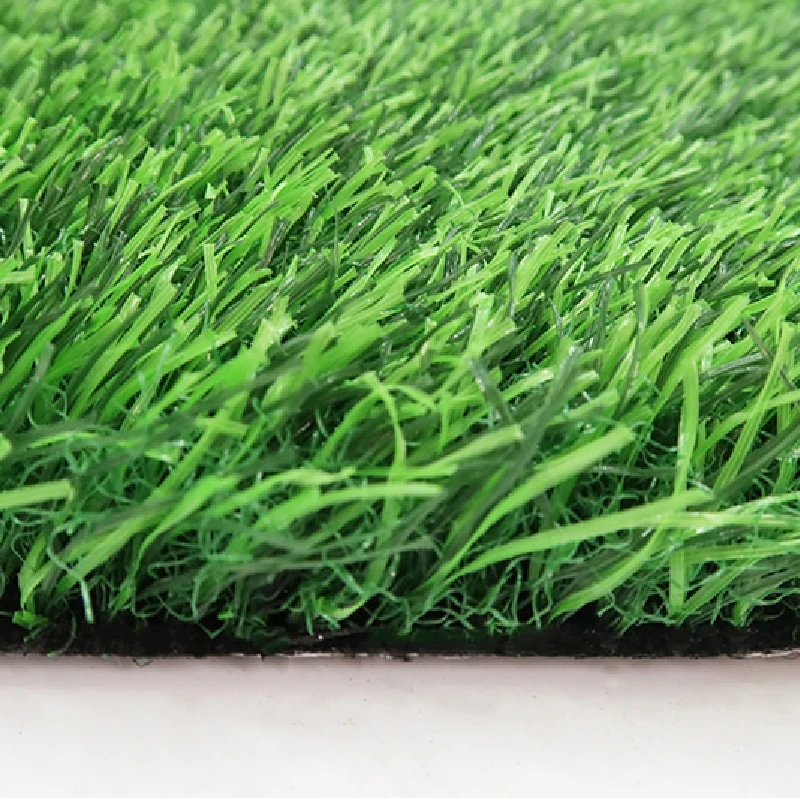
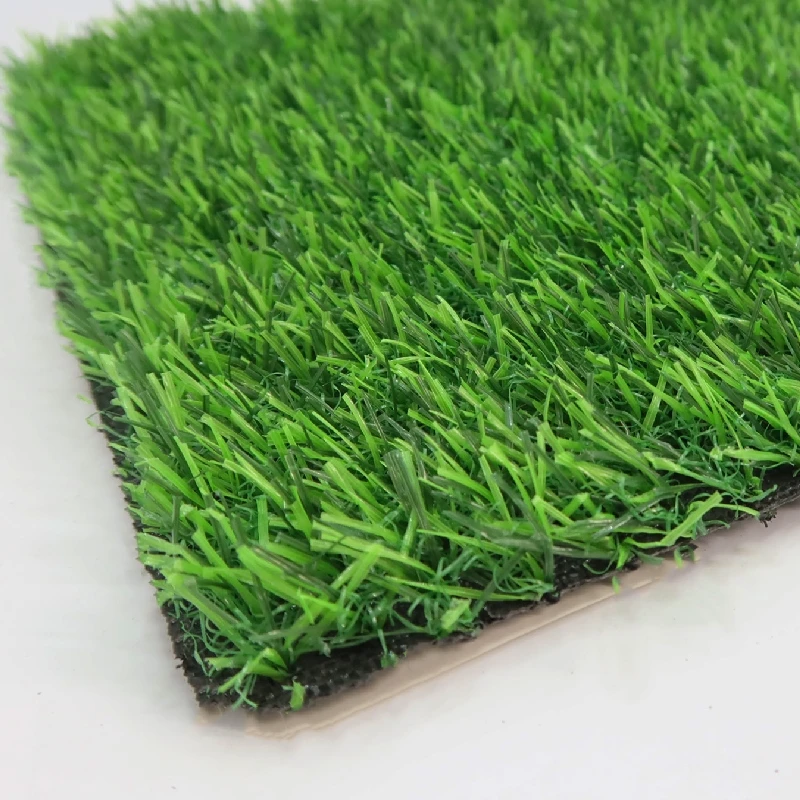
- Pile Height Depending on your purpose, choose a longer pile for a lush look or a shorter one for durability. - Color Various shades are available, mimicking natural grass. Opt for a color that fits your interior aesthetic. - Material Look for UV-resistant materials if the area receives direct sunlight, and choose a softer option for comfort.
Step 2 Gather Necessary Tools and Materials
To install artificial grass indoors, you’ll need several tools and materials
- Artificial grass - Carpet knife or utility knife - Measuring tape - Straight edge or ruler - Adhesive or double-sided tape - Seaming tape (if needed) - Gaffer tape or carpet tape - A roller for pressing down the grass
Step 3 Preparation of the Area
1. Measure the Space Start by measuring the area where you plan to install the grass. It’s crucial to have accurate dimensions to ensure you purchase the right amount of material. 2. Clean the Surface Ensure the installation area is clean, dry, and free from debris. This step is vital to prevent any issues with adhesion later.
3. Choose the Base If your indoor surface is concrete, tile, or wood, consider laying down a soft padding or underlayment. This padding not only adds comfort underfoot but also helps with drainage and keeps the grass in place.
how to install artificial grass indoors
Step 4 Cutting the Grass
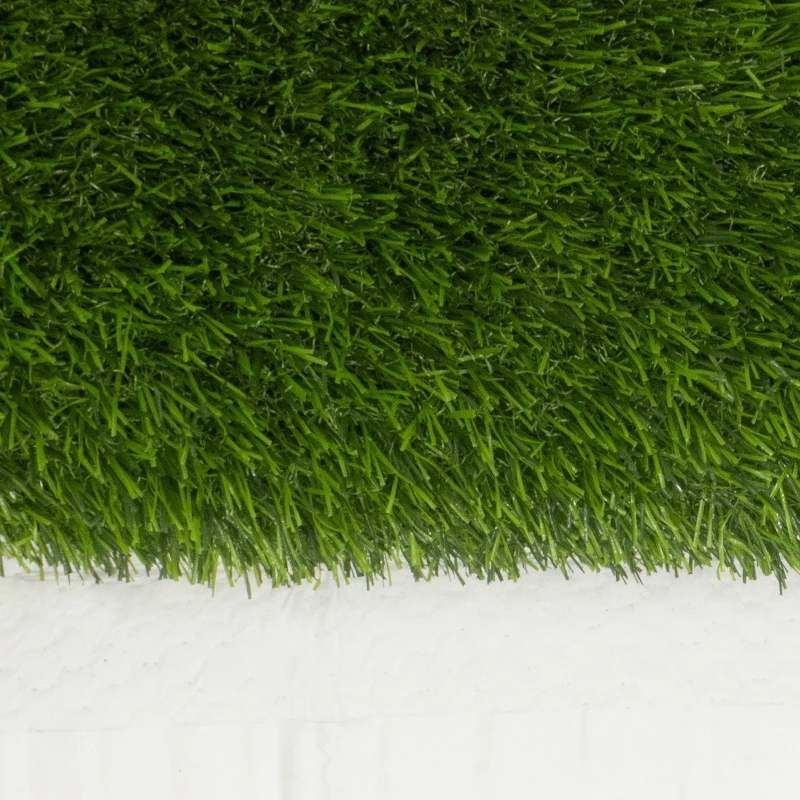
1. Lay Out the Grass Unroll the artificial grass and lay it in the designated area. Allow it to acclimate to room temperature for a few hours. 2. Cut to Size Using your measuring tape and straight edge, carefully cut the grass to fit the space using a sharp carpet knife. Take your time on this step to ensure clean edges.
3. Seaming (if required) If you have multiple pieces of grass, align them properly and use seaming tape underneath for a seamless look. Ensure that the fibers are consistently laid in the same direction for a natural appearance.
Step 5 Securing the Grass
1. Apply Adhesive or Tape Depending on your choice of installation, use either adhesive or double-sided tape to secure the edges of the grass to the floor. If using adhesive, follow the manufacturer's instructions for application.
2. Press Down Once the adhesive or tape is placed, use a roller to press down the grass firmly, ensuring there are no air bubbles and that it adheres evenly.
Step 6 Finishing Touches
1. Trim Excess Material After securing, check for any excess grass around the edges and trim as necessary for a clean finish. 2. Brush the Fibers Use a stiff-bristled broom to brush the fibers upright. This will help the grass look more natural.
3. Final Inspection Walk around and check for any loose areas or imperfections. Ensure that everything is secure and visually appealing.
Conclusion
Installing artificial grass indoors can transform your space, making it more inviting and functional. With the right materials and a little bit of effort, you can achieve a beautiful and practical solution that mimics the beauty of a natural lawn. Remember to follow all the steps carefully for best results, and enjoy your new indoor oasis!
-
The Benefits of Artificial Turf for Indoors
NewsJul.15,2025
-
How Artificial Grass Suppliers Ensure Quality Products
NewsJul.15,2025
-
Artificial Grass and Pets: A Space for Relaxation
NewsJul.08,2025
-
Balcony & Outdoor Decoration with Artificial Grass
NewsJul.08,2025
-
Best Indoor Artificial Grass for Home
NewsJul.07,2025
-
Best Pet Turf for Dogs: Safe & Durable Artificial Grass Options
NewsJul.07,2025
Products categories


