- Afrikaans
- Arabic
- Belarusian
- Bengali
- Czech
- Danish
- Dutch
- English
- Esperanto
- Estonian
- Finnish
- French
- German
- Greek
- Hindi
- Hungarian
- Icelandic
- Indonesian
- irish
- Italian
- Japanese
- kazakh
- Rwandese
- Korean
- Kyrgyz
- Lao
- Latin
- Latvian
- Malay
- Mongolian
- Myanmar
- Norwegian
- Persian
- Polish
- Portuguese
- Romanian
- Russian
- Serbian
- Spanish
- Swedish
- Tagalog
- Tajik
- Thai
- Turkish
- Turkmen
- Ukrainian
- Urdu
- Uighur
- Uzbek
- Vietnamese
building a synthetic putting green
Oct . 14, 2024 04:41 Back to list
Building a Synthetic Putting Green A Guide for Golf Enthusiasts
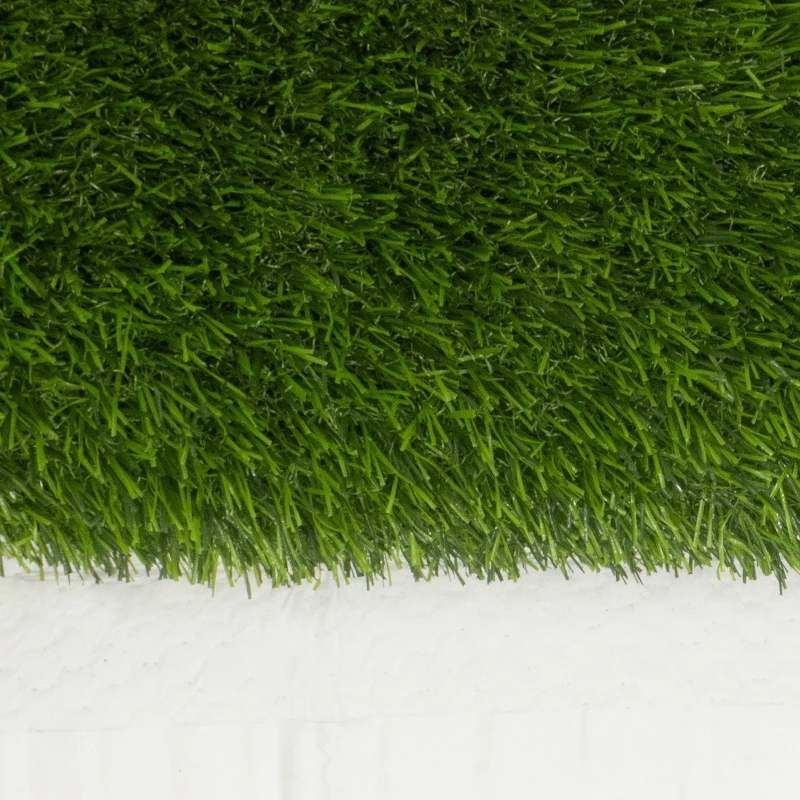
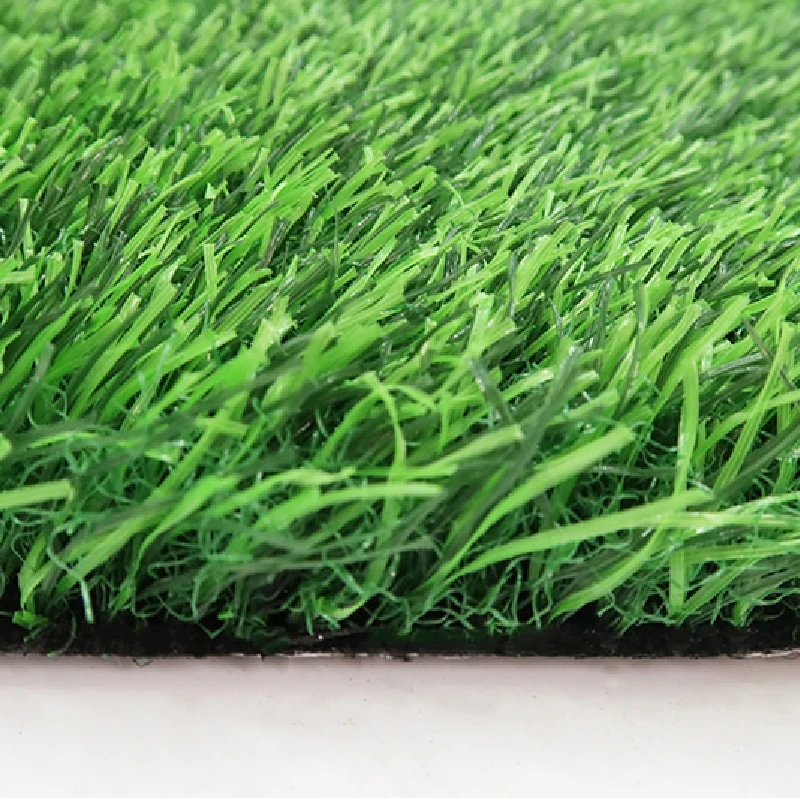
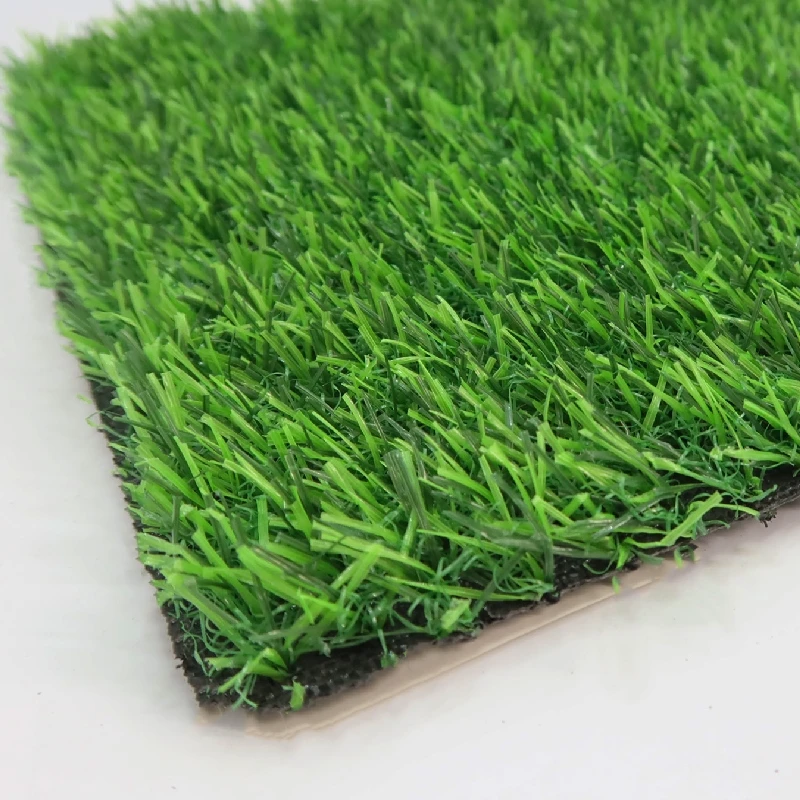
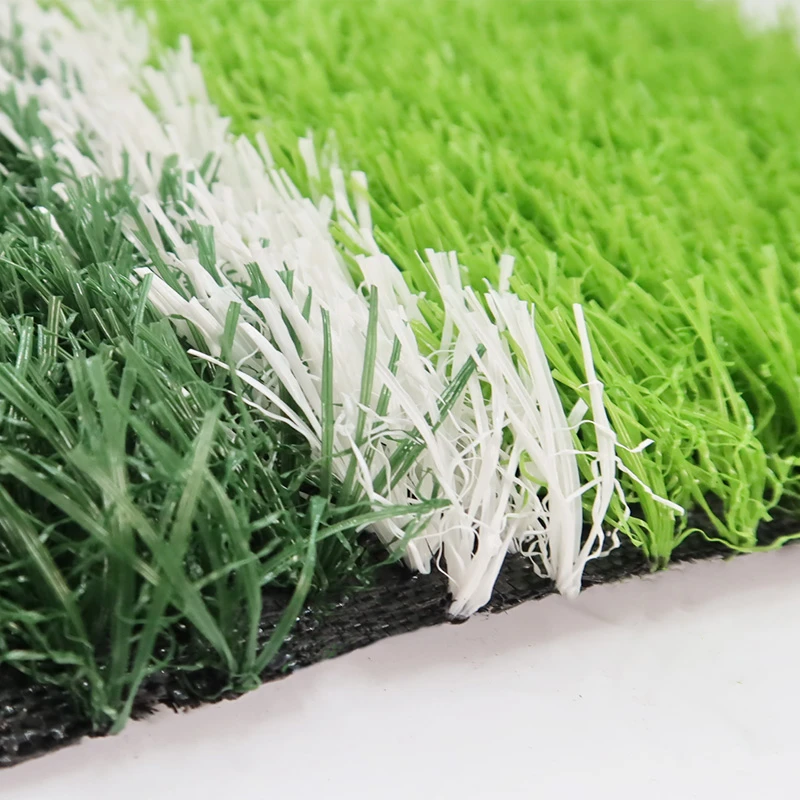
For golf enthusiasts, the idea of having a perfect putting green at home is a dream that many aspire to realize. A synthetic putting green can provide the ideal practice surface for golfers looking to improve their short game without venturing out to the course. In this article, we will discuss the benefits of constructing a synthetic putting green and provide a step-by-step guide on how to create one right in your backyard.
Why Choose a Synthetic Putting Green?
There are several advantages to building a synthetic putting green over a natural grass counterpart. First and foremost, synthetic greens require significantly less maintenance. Unlike natural grass, which needs regular mowing, watering, and fertilizing, synthetic surfaces remain pristine with minimal effort. This allows you to spend more time practicing your putting rather than maintaining the green.
Moreover, synthetic putting greens can be used in various weather conditions. Rain or extreme heat won’t affect the quality of your practice, providing consistent performance all year round. You can also customize the speed and slope of the putting surface to challenge your skills more effectively.
Planning Your Synthetic Putting Green
Before diving into the construction, careful planning is essential. Start by selecting an appropriate location in your yard that receives ample sunlight but is also sheltered from the wind. The size of the green is another important factor; a standard putting green typically ranges from 300 to 1,000 square feet. Think about how much space you can allocate without compromising other landscape features.
Next, sketch out a design that includes various hole placements, contours, and slopes. Adding features like a chipping area or surrounding landscaping can enhance the aesthetic appeal and functionality of your green.
Materials and Tools Needed
To build a synthetic putting green, here are the materials and tools you will need
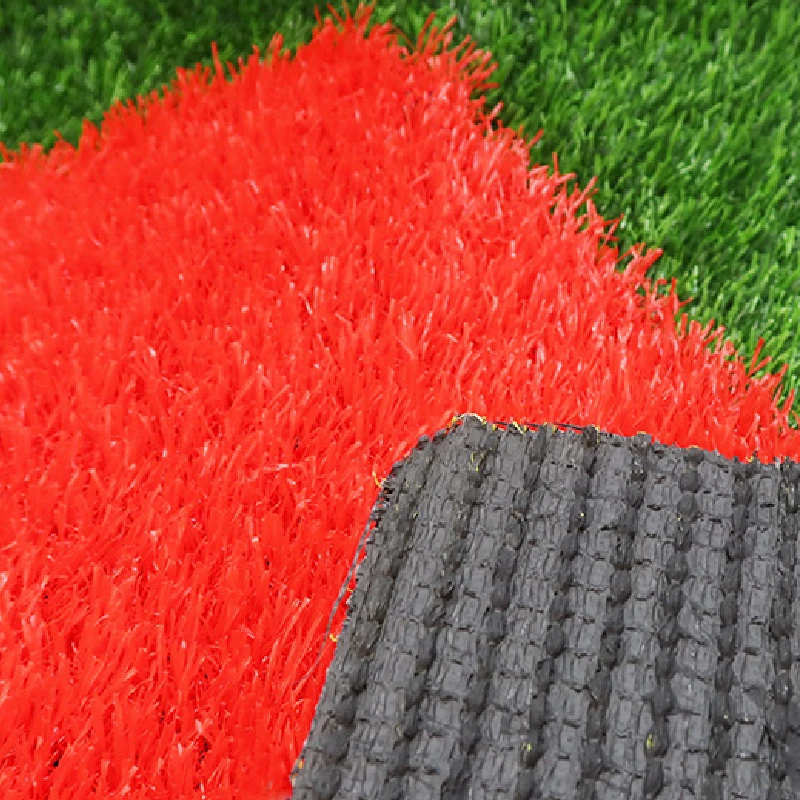
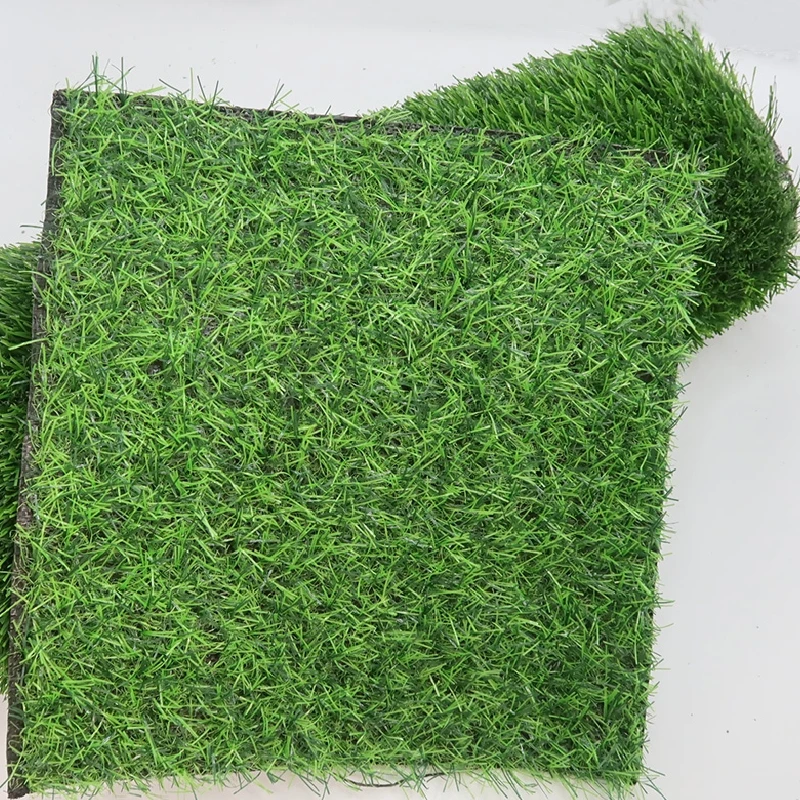
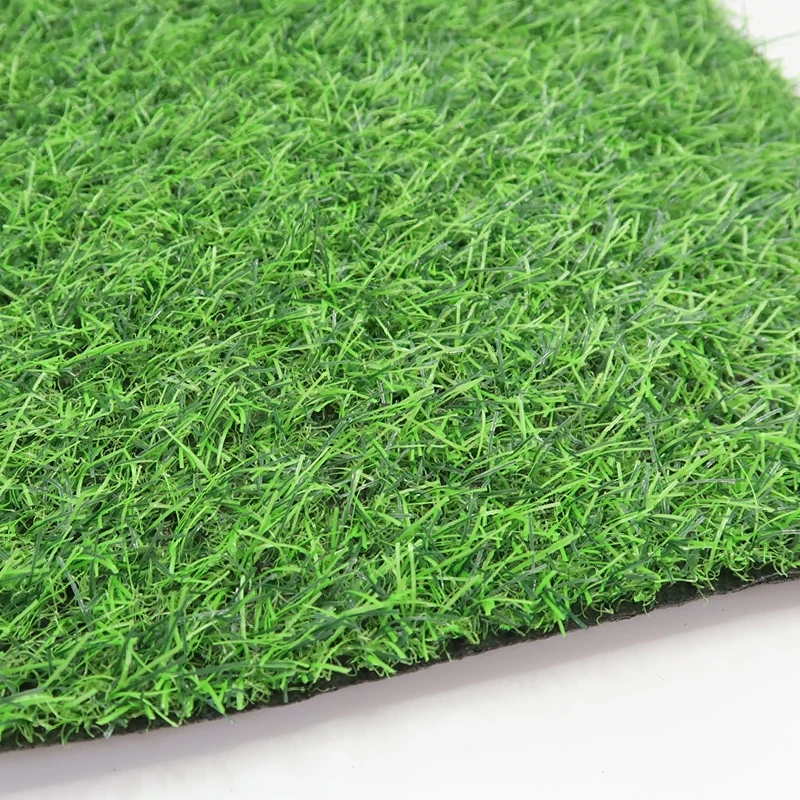
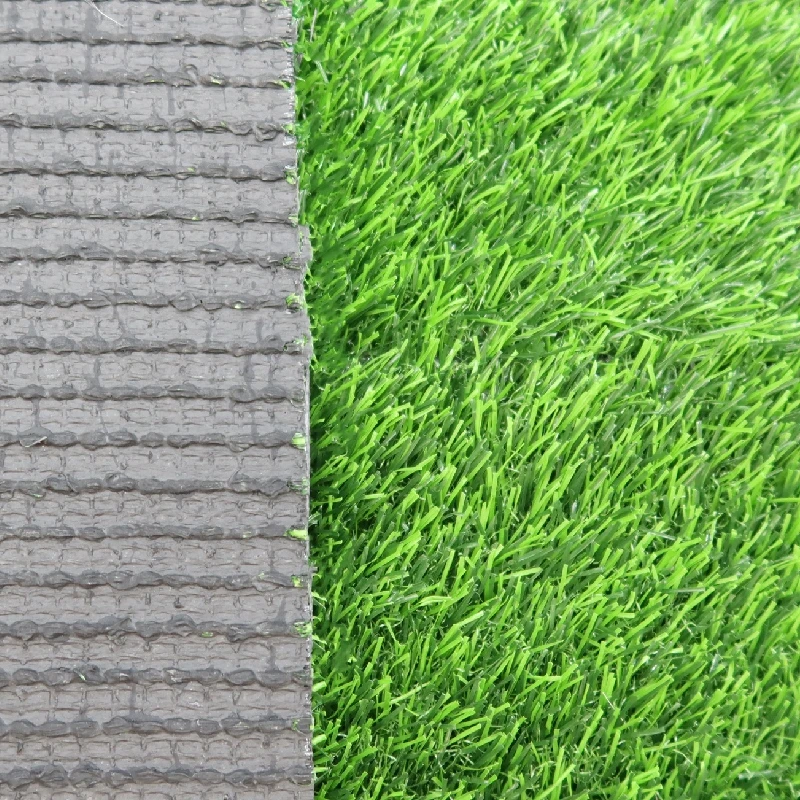
- Synthetic turf Choose high-quality turf that mimics the feel and performance of natural grass. - Weed barrier fabric This will help prevent weeds from emerging under the green. - Base materials Crushed stone, decomposed granite, or sand will create a stable and well-draining base. - Edging materials Use plastic, wood, or metal edging to define the perimeter of your green. - Tools You will need a shovel, rake, measuring tape, utility knife, and a broom for a clean finish. A compactor tool can also be beneficial for firming up the base.
Step-by-Step Construction Process
building a synthetic putting green

1. Site Preparation Clear the selected area of debris, grass, and any existing vegetation. Make sure the space is level, as this will affect your putting experience.
2. Install the Base Dig out roughly 3-4 inches of soil to create a base for your synthetic green. Add a layer of crushed stone or decomposed granite to promote drainage, and compact it well to create a solid foundation.
3. Lay the Weed Barrier On top of the compacted base, place weed barrier fabric to prevent weeds from growing through the turf.
4. Cut and Lay the Turf Measure the area and cut the synthetic turf to fit. Lay it out carefully, ensuring that seams are tight and edges are well-manicured.
5. Secure the Turf Use landscape staples or adhesive to secure the edges and seams of the turf. This will help to keep the surface in place and provide a cleaner finish.
6. Add Contours and Holes If your design includes slopes, consider adding sand or soil beneath the turf to create elevated areas. Cut holes in the turf for the cups, ensuring they are at the proper depth.
7. Finishing Touches Brush the turf to stand the fibers up and enhance its appearance. Add any additional landscaping or decorative features around your putting green.
Maintenance Tips
Although synthetic putting greens require less maintenance than natural grass, some care is still necessary. Regularly brush the surface to keep the fibers upright and remove debris. Occasionally, rinsing the green with water can help to keep it clean and extend its lifespan.
Conclusion
Building a synthetic putting green in your backyard is a rewarding project that can greatly enhance your golf practice. With minimal maintenance and all-weather usability, a synthetic green provides an ideal platform to hone your skills and lower your scores. By following these steps, you can create a beautiful and functional putting green that will be a source of enjoyment for years to come.
-
The Benefits of Artificial Turf for Indoors
NewsJul.15,2025
-
How Artificial Grass Suppliers Ensure Quality Products
NewsJul.15,2025
-
Artificial Grass and Pets: A Space for Relaxation
NewsJul.08,2025
-
Balcony & Outdoor Decoration with Artificial Grass
NewsJul.08,2025
-
Best Indoor Artificial Grass for Home
NewsJul.07,2025
-
Best Pet Turf for Dogs: Safe & Durable Artificial Grass Options
NewsJul.07,2025
Products categories


