- Afrikaans
- Arabic
- Belarusian
- Bengali
- Czech
- Danish
- Dutch
- English
- Esperanto
- Estonian
- Finnish
- French
- German
- Greek
- Hindi
- Hungarian
- Icelandic
- Indonesian
- irish
- Italian
- Japanese
- kazakh
- Rwandese
- Korean
- Kyrgyz
- Lao
- Latin
- Latvian
- Malay
- Mongolian
- Myanmar
- Norwegian
- Persian
- Polish
- Portuguese
- Romanian
- Russian
- Serbian
- Spanish
- Swedish
- Tagalog
- Tajik
- Thai
- Turkish
- Turkmen
- Ukrainian
- Urdu
- Uighur
- Uzbek
- Vietnamese
artificial turf preparation
Nov . 05, 2024 11:25 Back to list
Preparing Your Lawn for Artificial Turf A Comprehensive Guide
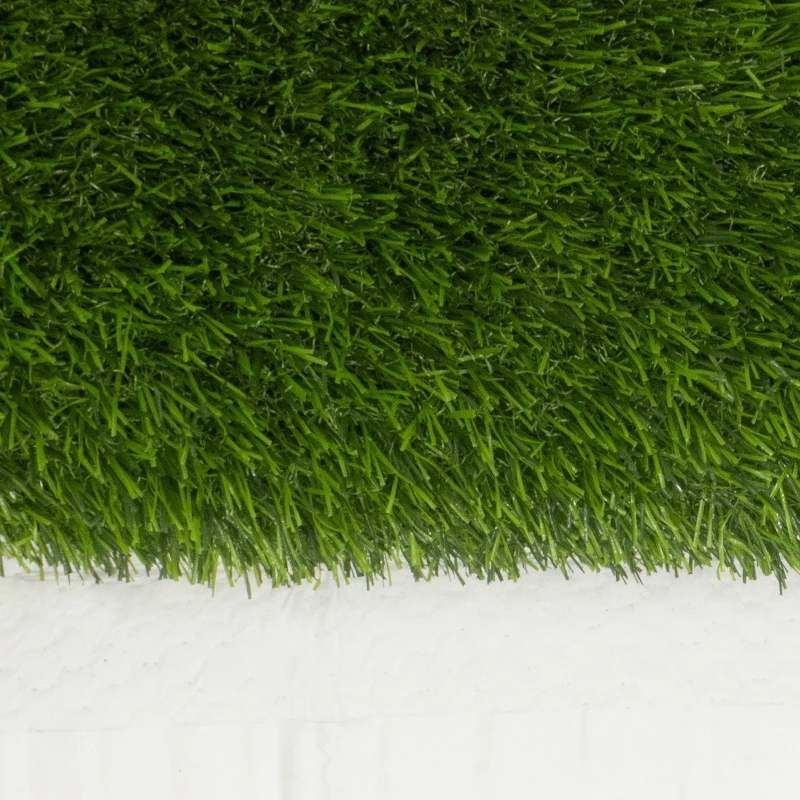
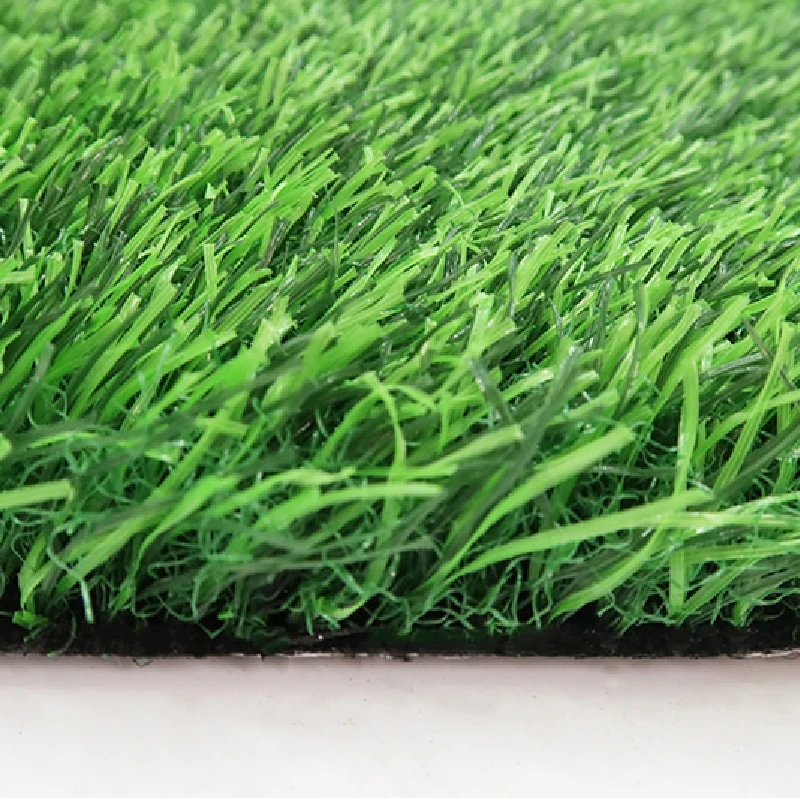
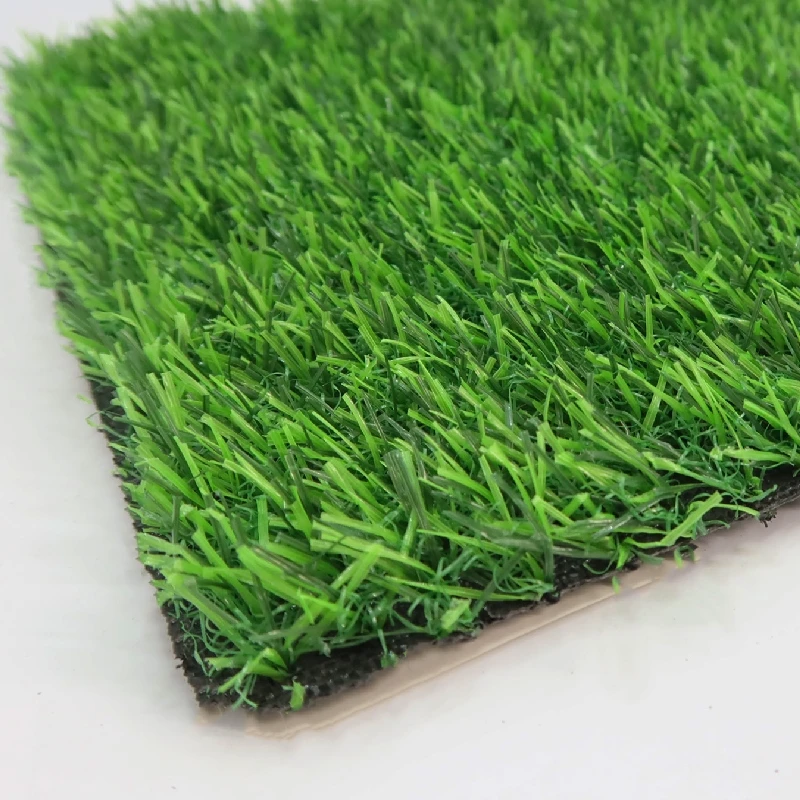
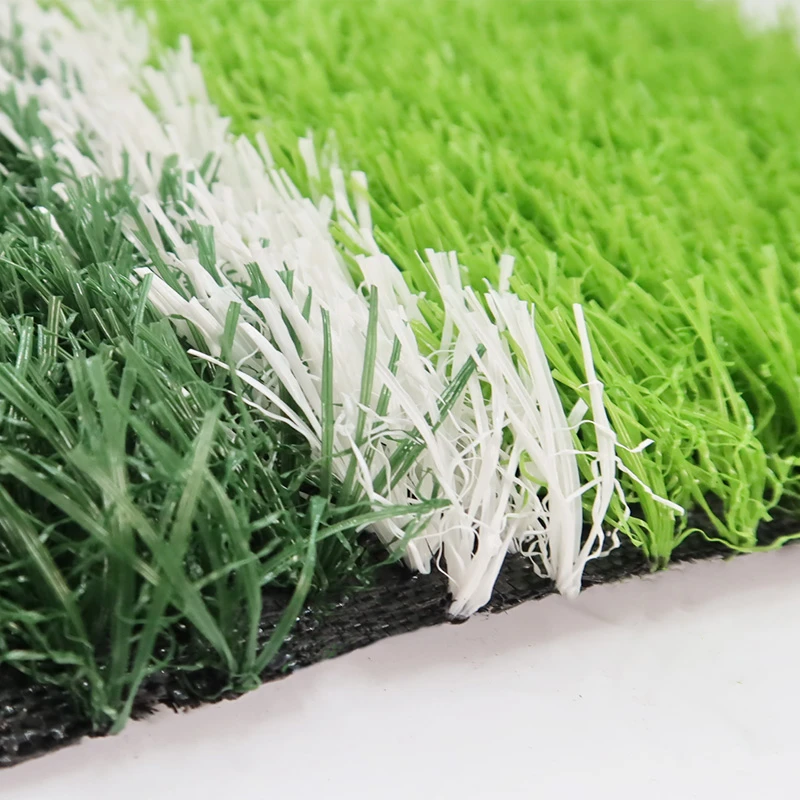
Artificial turf has gained immense popularity over the past few years, thanks to its low maintenance requirements and the ability to maintain a lush, green appearance year-round. However, proper preparation of the underlying surface is crucial for ensuring that your artificial lawn performs well and lasts for years. In this article, we’ll explore the essential steps involved in preparing your lawn for the installation of artificial turf.
Step 1 Planning Your Installation
Before you dive into preparation, it is essential to plan your installation. Consider the size and shape of the area where you want to lay the turf. This includes measuring the space and determining how much artificial turf you will need. Next, think about the purpose of the turf will it be for aesthetics, play areas, or pets? This will help you choose the right type of artificial grass that meets your needs.
Step 2 Removing Existing Grass and Weeds
Once you have a plan in place, the first physical step is to remove any existing grass, weeds, or debris from the area. Use a shovel or sod cutter to remove the top layer of grass and its roots thoroughly. It's important to eliminate all existing vegetation to prevent any growth that could disrupt the installation of your artificial turf. Additionally, check for any weeds that may be present in the soil and remove them as well.
Step 3 Excavate the Area
After clearing the existing vegetation, the next step is to excavate the area to prepare for the base layer. Dig down to a depth of about 3 to 4 inches, depending on the type of artificial turf you are installing and the amount of traffic it will experience. This depth will allow for an appropriate base layer, which is essential for providing support and stability.
Step 4 Install a Base Layer
Once you have excavated the area, it’s time to install the base layer. This typically consists of a mixture of crushed stone or gravel, which should be spread evenly across the area. Aim for a thickness of about 2 to 3 inches for the base layer. The base layer serves several purposes it provides drainage, prevents weed growth, and creates stability for the artificial turf.
Use a plate compactor to compact the base layer thoroughly. This step is crucial, as it minimizes the chance of settling over time, which could lead to an uneven surface. After compacting, ensure the surface is level and smooth to avoid any bumps that could affect the appearance and usability of the turf.
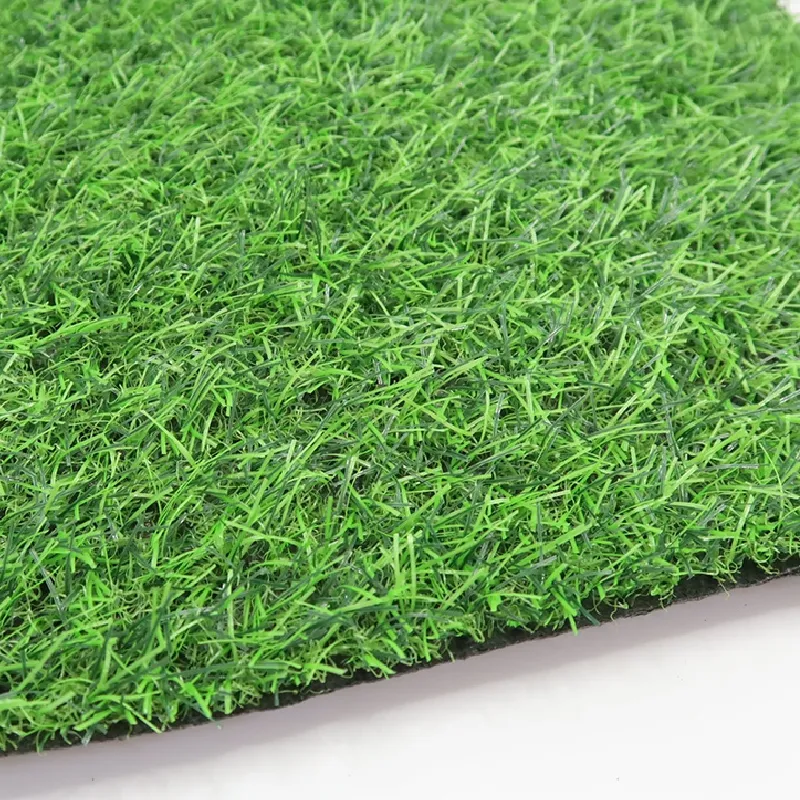
artificial turf preparation
Step 5 Install a Geotextile Fabric
To further discourage weed growth and enhance drainage, consider laying down a geotextile fabric over the compacted base layer. This fabric allows water to flow through while preventing weeds from penetrating the turf from below. Cut the fabric to size and overlap the edges to ensure coverage, securing it with landscape pins if necessary.
Step 6 Cutting and Laying the Turf
Now it’s time to cut and lay the artificial turf. When handling the turf rolls, make sure to lay them in the same direction to maintain a uniform look. Cut the edges as required to fit the shape of your area, using a sharp utility knife for clean edges. Make sure to leave a small gap between the turf and any surrounding structures or features to allow for expansion and drainage.
Step 7 Securing the Turf
Once the turf is in place, you’ll need to secure it using landscape staples or adhesive. Apply the staples every 6 to 12 inches along the seams and the perimeter of the turf to prevent it from shifting. If there are seams, make sure they are staggered for a more natural appearance, and use turf adhesive specifically designed for artificial grass to bond the seams together.
Step 8 Infill Application
Finally, adding infill material can enhance the durability and appearance of your artificial turf. This material, commonly made of rubber or silica sand, helps to keep the blades upright and provides cushioning. Spread the infill evenly across the surface and brush it in with a stiff broom to ensure it penetrates the turf fibers.
Conclusion
Proper preparation is key to a successful artificial turf installation. By following these steps, you’ll create a solid foundation that ensures your new lawn looks great and lasts for years. Whether you’re creating a beautiful green space for your family, pets, or recreational activities, investing the time and effort into preparing your lawn will ultimately pay off in the long run. Enjoy the benefits of your new artificial turf for many seasons to come!
-
The Benefits of Artificial Turf for Indoors
NewsJul.15,2025
-
How Artificial Grass Suppliers Ensure Quality Products
NewsJul.15,2025
-
Artificial Grass and Pets: A Space for Relaxation
NewsJul.08,2025
-
Balcony & Outdoor Decoration with Artificial Grass
NewsJul.08,2025
-
Best Indoor Artificial Grass for Home
NewsJul.07,2025
-
Best Pet Turf for Dogs: Safe & Durable Artificial Grass Options
NewsJul.07,2025
Products categories


